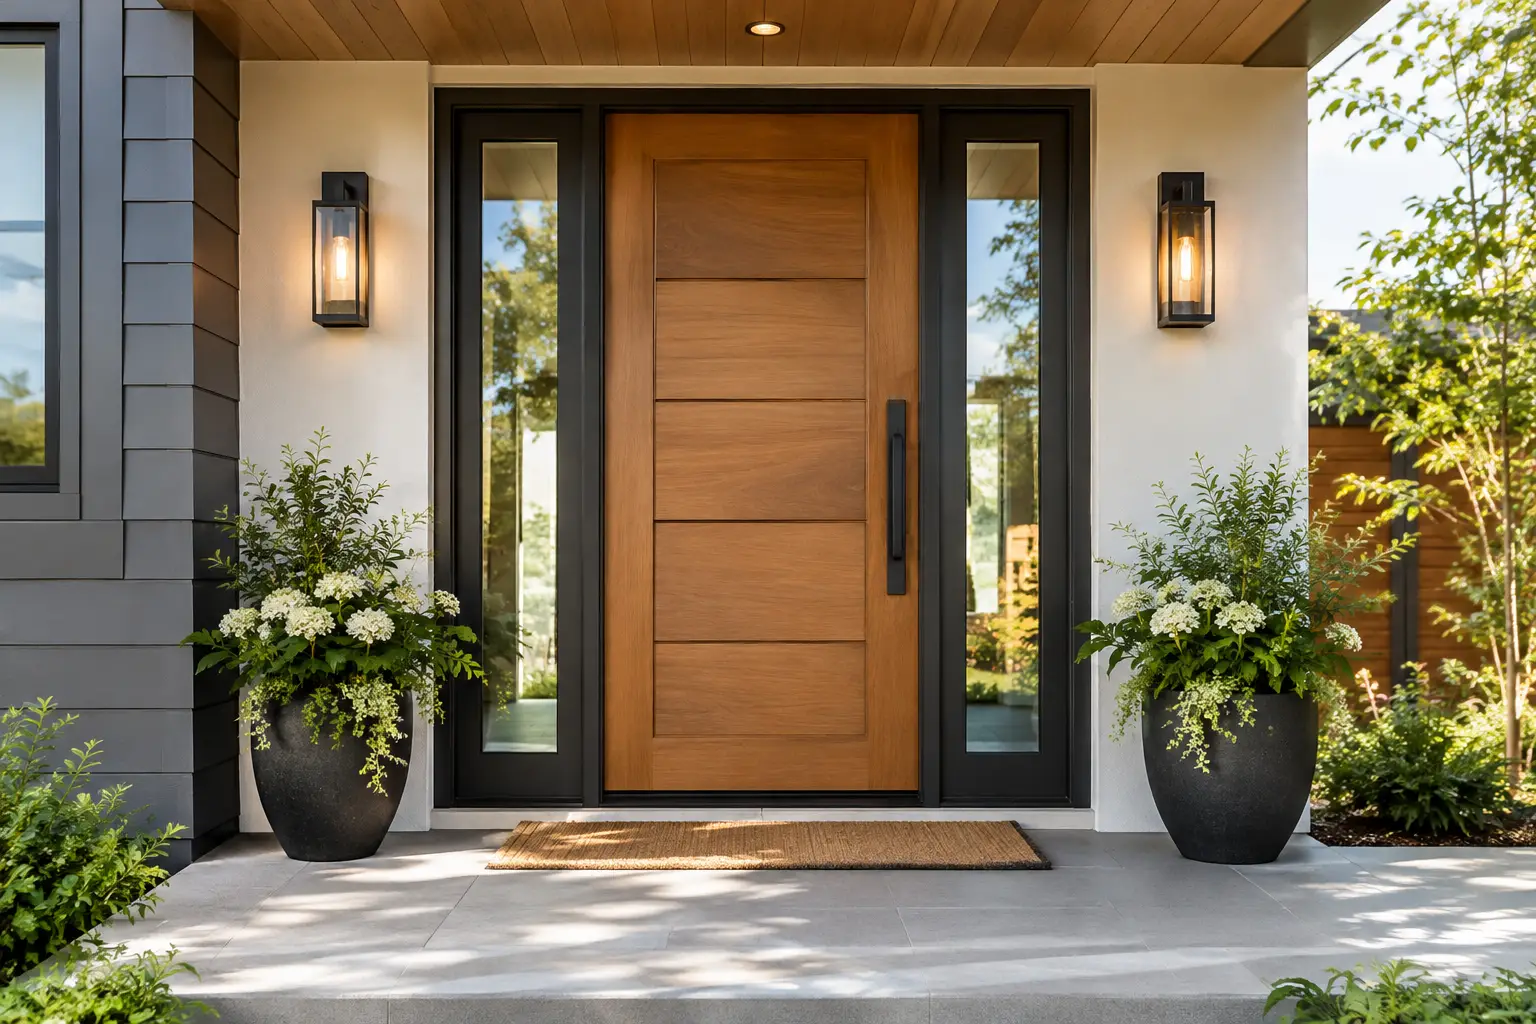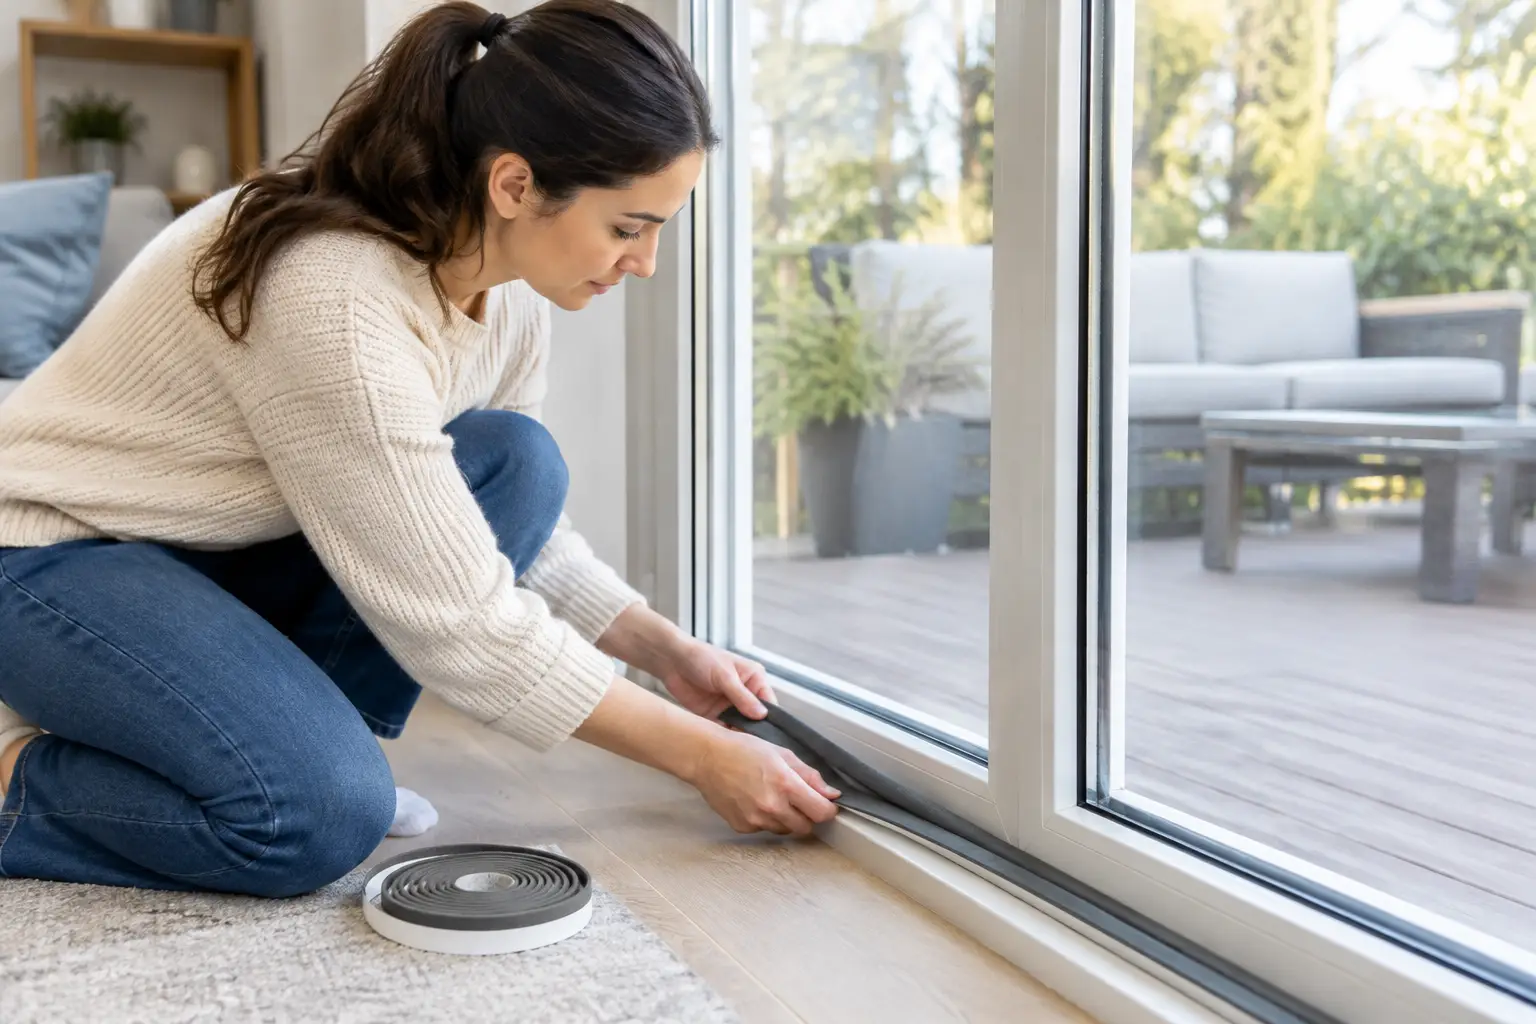
A replacement entry door only performs as well as its fit. A door that is off by even a small amount can create drafts, difficult operation, water intrusion, and gaps that weaken security. Knowing how to measure entry door openings gives you a useful starting point when planning an upgrade, comparing styles, or requesting an estimate.
The key is to measure the existing opening, not simply the visible door slab. Your final door order should always be confirmed by a professional installer, especially when replacing an older door, changing the frame style, or adding sidelites. But accurate homeowner measurements help you understand what your project may involve and prevent surprises during consultation.
What You Need Before Measuring an Entry Door
Use a quality tape measure that reads in inches, a pencil, paper, and a level if you have one. A small flashlight is also useful for checking the sill, jambs, weatherstripping, and areas where the frame meets the exterior wall.
Measure from the interior side when possible. You will get the clearest view of the jamb and wall depth there, without exterior brick molding, trim, or storm-door hardware getting in the way. Keep your measurements to the nearest 1/8 inch. Do not round up because a door is labeled as a standard size. A nominal 36-inch entry door, for example, does not mean every part of the installed opening measures exactly 36 inches.
Before you start, determine what is being replaced. Are you changing only the door slab, or are you replacing the entire prehung door system, including the frame, threshold, weatherstripping, and trim? Most exterior door upgrades benefit from a full-frame replacement because the existing jamb can hide rot, air leaks, poor insulation, or settlement issues.
How to Measure an Entry Door Opening
A complete measurement includes the door width, height, jamb depth, and the condition of the opening. Record each number clearly, along with the side where hinges are located and the direction the door swings.
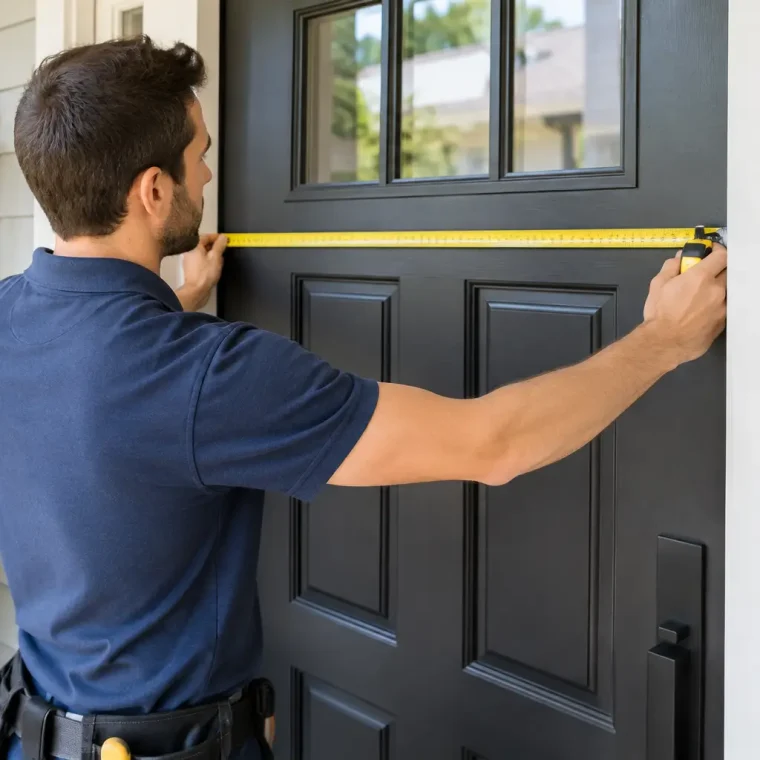
Measure the door width in three places
Open the door and measure horizontally across the inside of the frame, from one jamb to the other. Take this measurement at the top, center, and bottom of the opening. Use the smallest of the three measurements as your working width.
Different readings can signal that the frame is out of square, bowed, or affected by house movement. A difference of 1/8 inch may be manageable, but a larger variation deserves professional attention. Forcing a new door into an uneven opening can compromise alignment and long-term performance.
Do not measure from exterior trim to exterior trim. Brick molding, casing, and decorative surrounds are not reliable indicators of the actual structural opening.
Measure the height on both sides
Measure vertically from the top of the finished threshold or sill to the underside of the top jamb. Take one measurement on the left side and another on the right side. Again, use the smaller number if there is a difference.
Be precise about where you start. Measure from the walking surface of the threshold where the door closes, not from a removable door sweep, a raised piece of trim, or exterior paving. If the threshold is damaged, sloped, or soft, make a note of it. The new unit may require sill repair before installation.
Measure the jamb depth
Jamb depth is the distance from the inside edge of the interior trim to the outside edge of the exterior trim, excluding the trim itself. This measurement tells your installer how thick the wall assembly is and helps determine the correct frame configuration.
Older homes can have unexpected wall depths due to plaster, added insulation, brick veneer, or previous renovations. If your jamb depth changes from the top to the bottom, record both measurements. A custom-fit system can accommodate many conditions, but the installer needs an accurate picture before production begins.
Check the opening for square and level
You do not need advanced tools to spot common problems. Measure diagonally from the upper left corner of the frame to the lower right, then from the upper right to the lower left. If the two diagonal measurements differ significantly, the opening may be out of square.
Also place a level across the threshold and against each side jamb. A threshold that slopes outward slightly is often intentional because it directs water away from the home. A severe slope, however, may indicate movement or water-related damage that needs correction before the new door is installed.
Measure the Door Slab and Note Its Swing
If you are considering a slab-only replacement, measure the existing door itself: its width, height, and thickness. Standard exterior slabs are often 1 3/4 inches thick, but never assume yours is standard. Older properties and custom doors frequently vary.
Stand outside facing the door to describe the handing. If the hinges are on the left, it is a left-hand door; if the hinges are on the right, it is a right-hand door. Then note whether the door swings inward or outward. Most residential front doors swing inward, but local code requirements, covered porches, stairs, and storm doors can affect the best choice.
Door handing affects the placement of hinges, locksets, sidelites, screens, and exterior lighting clearance. It also affects day-to-day convenience. An inward-swinging door should not collide with a staircase, closet, furniture, or another door once it opens.
Do Not Forget Sidelites, Transoms, and Storm Doors
A front entry system can be much wider or taller than the operating door itself. If you have glass sidelites on one or both sides, measure the full assembly from the outside edge of one jamb to the outside edge of the other. Then measure the door slab and each sidelite separately if visible.
For a transom window above the door, measure its height and the total height of the complete unit. Note whether the transom is fixed, decorative, or part of a larger structural frame. Replacing an entry door while preserving existing glass may be possible in some cases, but a full replacement often provides a better air and water seal.
If a storm door is installed, measure the clearance between its frame and the main entry door. A thicker insulated replacement door, new handle set, or projecting decorative glass can interfere with the storm door. In some projects, homeowners choose to remove an older storm door because a high-performance fiberglass or steel entry system already provides better insulation, weather protection, and security.
Look Beyond Dimensions: Inspect the Frame Condition
Measurements are only part of the job. Inspect the lower corners of the frame, threshold, sill, and exterior trim for softness, discoloration, cracked caulking, or signs of water damage. Press gently around suspect areas with a screwdriver. Wood that feels soft or flakes away may need repair.
Look for daylight around the edges of the door, loose hinges, a latch that does not align with the strike plate, or a door that rubs the frame. These issues can result from simple wear, but they can also point to an out-of-plumb frame or structural movement.
Energy performance matters here. A new insulated door installed over deteriorated framing will not deliver the comfort or efficiency homeowners expect. Proper installation includes assessing the opening, correcting problems where needed, insulating gaps appropriately, and sealing the system against wind and moisture.
Common Entry Door Measuring Mistakes
The most common mistake is ordering based on the visible slab size alone. Another is measuring trim instead of the jamb opening. Homeowners also sometimes assume that a rough opening and finished opening are the same thing. They are not.
The rough opening is the framed structural space in the wall. The finished opening is the usable space inside the installed jamb. Installers may need to remove interior or exterior trim to verify rough-opening dimensions, inspect framing, and ensure the new door can be properly shimmed and sealed.
Avoid ordering a door before a final site measurement. This is especially important if you are upgrading to a door with sidelites, decorative glass, multipoint locking hardware, a custom color, or a different material. Fiberglass, steel, and wood-look designs each have their own sizing, frame, and hardware considerations.
When a Professional Measurement Is Worth It
For a straightforward replacement, your measurements can help narrow choices and make an initial quote more accurate. A professional measure is still the step that protects your investment. It confirms dimensions, identifies hidden installation concerns, reviews swing and threshold options, and ensures the selected product suits your home’s exposure and style.
At WELDA Windows & Doors, the final measurement process is designed to turn your initial notes into a custom-fit entry system built for dependable operation, stronger security, and year-round comfort. That attention to detail is what helps a new door close tightly, look right, and perform as it should for years.
Take your measurements, photograph the inside and outside of the opening, and note any drafts or damage you find. Those few minutes of preparation can make your replacement door consultation clearer, faster, and far more productive.
About the Author